




What are the common types of marking tools?

Common Marking and Layout Tools – A Practical Guide
In woodworking, renovation, and handicraft work, marking and layout are fundamental yet critical steps. The accuracy of your lines directly determines the precision of subsequent cutting, assembly, and joining. Many people only know about ordinary pencils, but in reality, different scenarios call for specialized tools. Today, let’s break down the most common types of marking and scribing tools in plain language.
1. Everyday General-Purpose: Wooden Pencils & Mechanical Pencils
These are the most common marking tools, suitable for simple, light-surface marking.
- Standard wooden pencil: Cheap, widely available, and great for paper, light wood surfaces, and rough wall markings.
- Mechanical pencil: Thinner lead allows finer lines, ideal for light precision work, but not suitable for rough or hard surfaces (lead breaks easily).
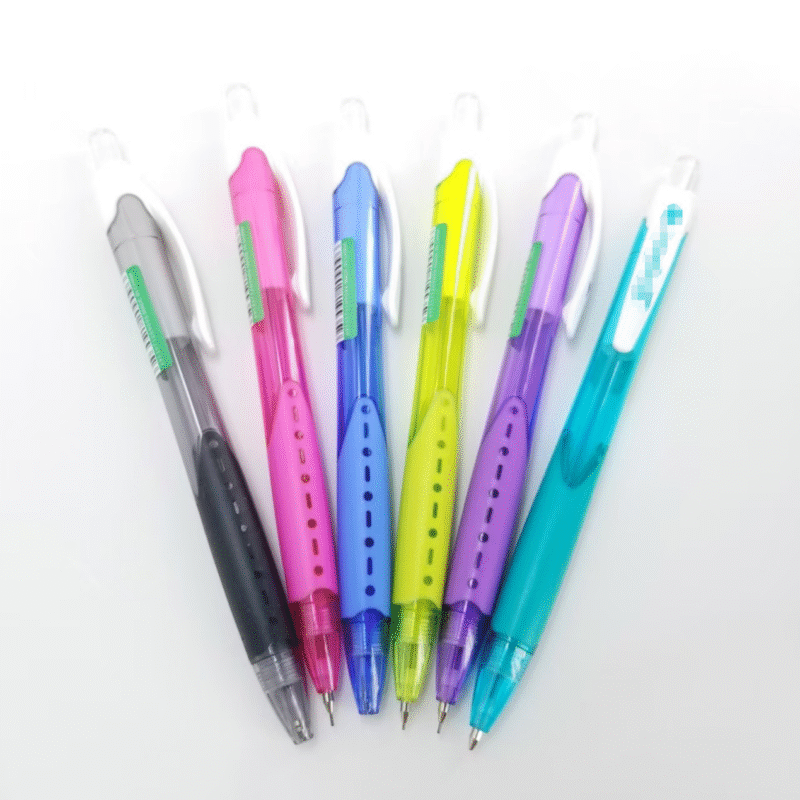
Drawbacks: The barrel is too thick to reach into deep holes or narrow slots, and the lead tends to slip on coarse wood grain.
2. Woodworking Specialty: Flat Carpenter’s Pencil
Virtually every carpenter carries one – it’s a traditional staple. The rectangular lead, when sharpened, produces lines of controllable thickness. Its flat shape prevents rolling on the bench. It marks clearly on wood, panels, and even tiles, making it perfect for straight lines, positioning, and layout on flat stock.
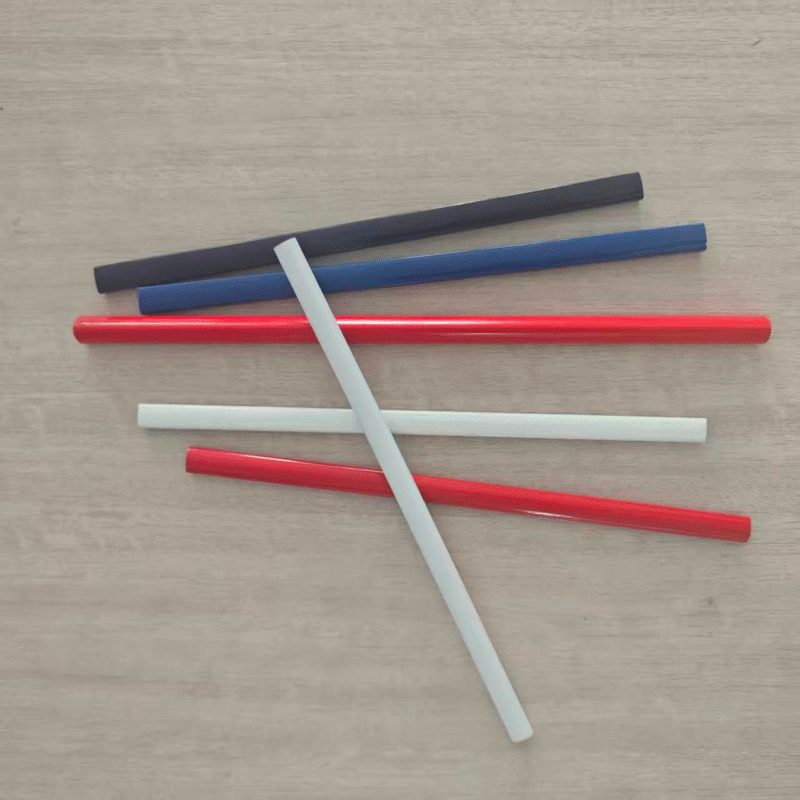
Limitation: Still too bulky to reach inside deep mortises, tight grooves, or internal cavities.
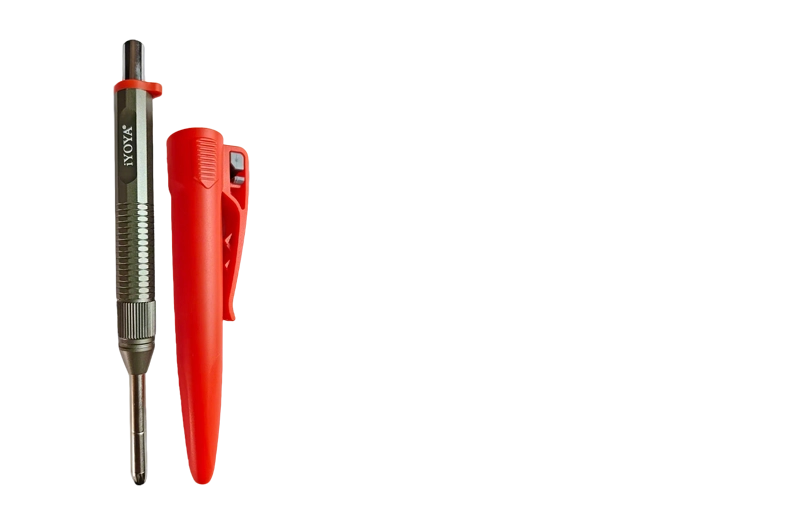
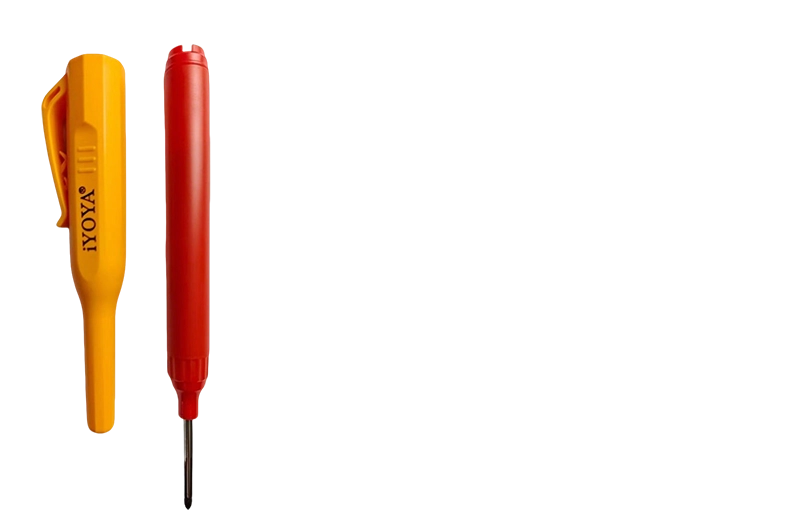
3. Deep-Hole & Tight-Spot Marking: Deep-Hole Carpenter’s Pencil
This tool is specifically designed for hard-to-reach areas – deep holes, mortises, narrow slots, and blind cavities where ordinary pencils simply cannot go. It features a slender, elongated metal guide tip that extends deep into the hole, allowing the lead to reach the very bottom for accurate marking. Its slim profile does not obstruct your view, ensuring a clear, non-deviating line. This solves the classic pain points: “can’t see, can’t reach, can’t mark accurately inside a hole.” It is widely used in furniture joinery (mortise & tenon), hardware positioning, and installation alignment where internal depth marking is essential.
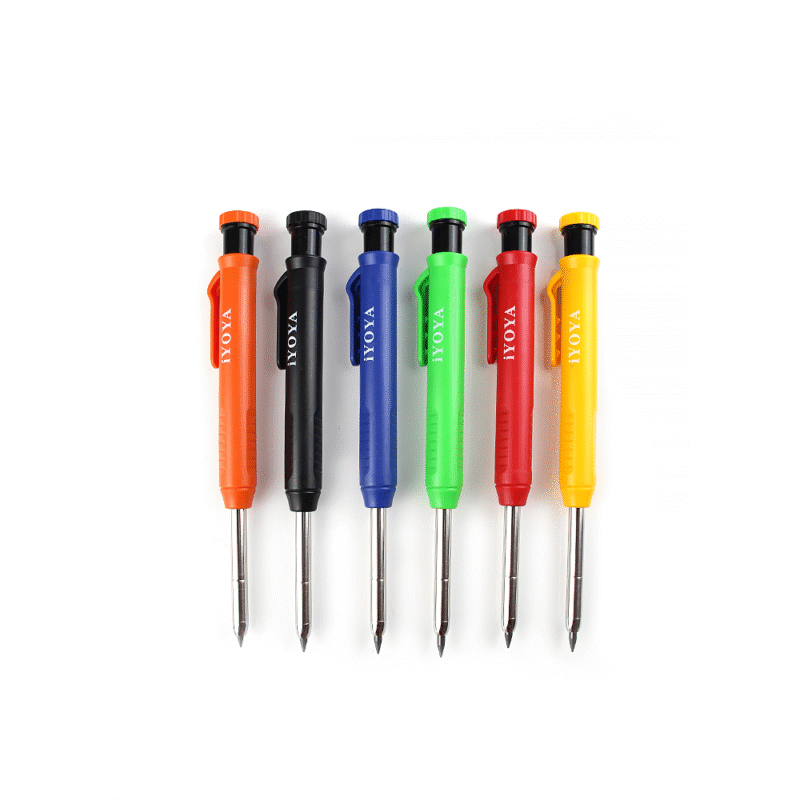
4. High-Precision Scribing: Scribers & Marking Gauges
Ideal for metalworking and fine woodworking where tight tolerances are required.
- Scriber: A sharp-pointed tool that scores fine, deep lines on metal and hard wood – the marks are permanent and won’t rub off.
- Marking gauge: Fixed-distance scribing for parallel lines, commonly used for grooving and width layout.
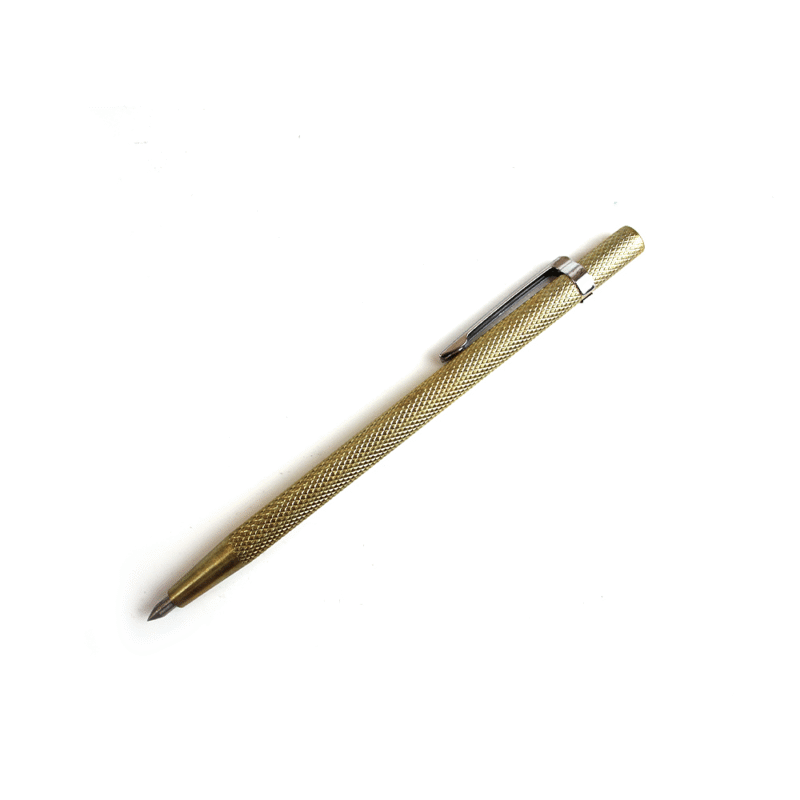
Note: These are not suitable for soft materials or quick, casual marking.
5. Convenient & Durable: Marker Pens & Crayons / Chalk
- Marker pens: Available in fine and broad tips; strong ink adhesion. Good for outdoor, rough surfaces, pipes, and lumber yards – but lines are thicker and less precise.
- Wax crayons / soapstone pencils: Mark clearly on stone, steel, and damp surfaces without rubbing off easily – popular on construction sites.
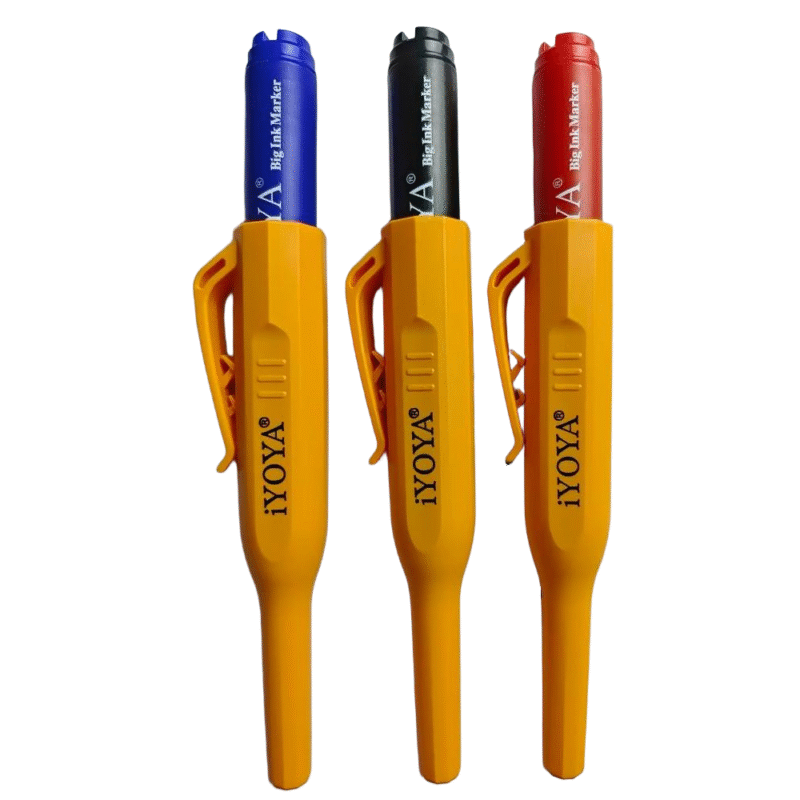
6. Auxiliary Layout Aids: Squares, Compasses, and Ink Lines
These are not pens, but essential companions for accurate layout:
- Try square / combination square: For right angles and verticality checks.
- Compass / divider: For circles and equal spacing.
- Ink line (chalk line): For snapping long, dead-straight lines on large panels – highly efficient and accurate.
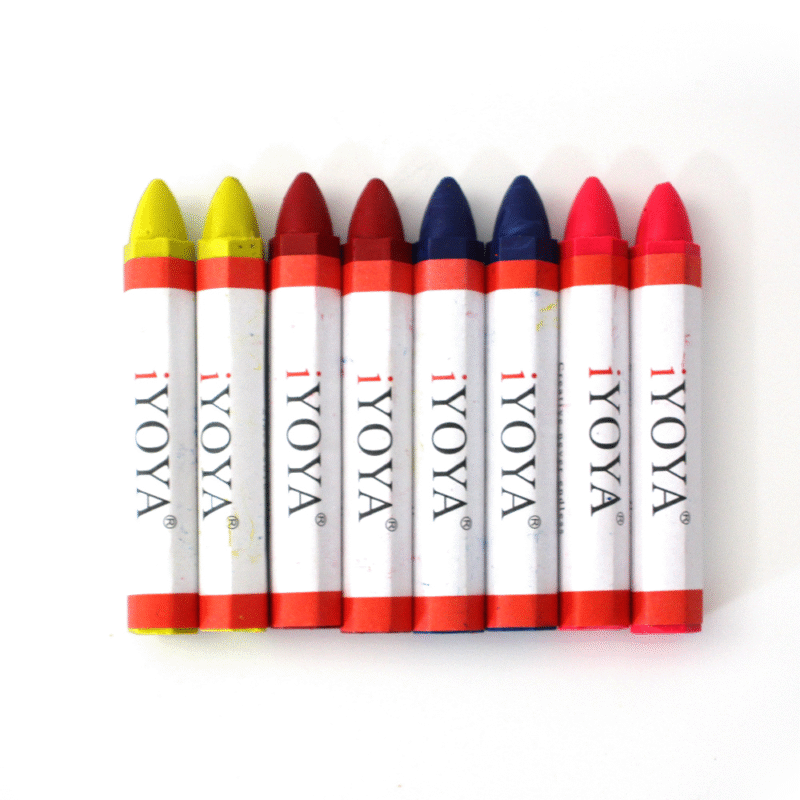
Summary
For simple surface marks → use ordinary pencils or markers.
For flat woodwork layout → use a flat carpenter’s pencil.
For deep holes, mortises, narrow slots, and blind cavities → use a deep-hole carpenter’s pencil (this is the key tool for internal depth marking).
For precision metal/fine woodwork → use scribers and marking gauges.
Choosing the right tool not only makes the job smoother but also dramatically reduces errors, avoids rework, and significantly improves overall work quality.